If you are looking for a way to save time when writing new blog posts, then you’ll definitely want to start using reusable blocks in the Gutenberg editor.
There are going to be occasions when you’ll want to add specific content to many different posts.
Instead of having to create those blocks from scratch each time, reusable blocks offer a time-saving hack to make that process easier!

This post may contain affiliate links. Read our full disclosure here.
What Are Reusable Blocks
Reusable blocks are a feature of the Gutenberg editor that enables you to create a block and add it to a library of blocks to reuse in other posts.
Some examples of things you’ll want to add to multiple posts include (but not limited to):
- affiliate disclosure
- post or category-specific optins
- a link to your Etsy shop
- a link to a Resource page
- promotional mockup for your book
- linking to cornerstone content
- linking to a series
- repeat guest post bios
How to Make a Reusable Block
Creating a reusable block is as easy as simply writing the content into the post! Once you’ve created the block, you simply click the 3 dots on the editor and a window will pop up. Give it a name (for example, “affiliate disclosure” or “Prayer Optin”) and hit the save button.
That’s it! You’ve created a reusable block!
How to Add a Reusable Block to a Post
Once you’ve created a reusable block, you add it in the same way you add the standard paragraph and other blocks.
Just click the add button (blue plus at top left of screen), then click the tab for reusable blocks and select the reusable block you are wanting to add.
How to Edit or Update a Reusable Block
There may be times when you want to edit a reusable block. Some reasons include:
- changing the link destination
- changing the optin completely
- changing the mockup for your optin or book
- editing the colors or other visual elements of how it displays
To edit a reusable block click the blue plus (top left corner), then click on the reusable tab and scroll to the very bottom. Then click on the “manage reusable blocks” button.
From here, simply click on the one you want to edit.
Watch this video where I walk you through creating, adding, and editing reusable blocks!
Ways to Use Reusable Blocks
There are so many different ways you can use reusable blocks! I’ve listed a few of the most common reasons below. But keep in mind that reusable blocks can be used for anything that you want to include in more than one post.
Affiliate Disclosure
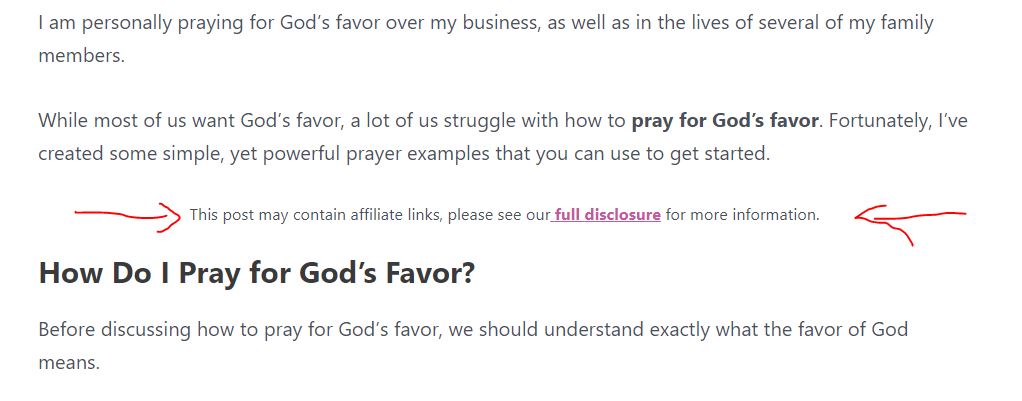
If you use affiliate links on your blog, every post needs to have an affiliate disclosure BEFORE the use of any affiliate links. Some people use an auto-inserter that places the text above the content.
Personally, I don’t like this approach because your affiliate disclosure will be the first thing a reader sees.
Instead, start with a few intro paragraphs and insert your disclosure right before your first H2 – using a reusable block.
Just use a text block. I center mine, italicize it, and make the text a tad smaller.
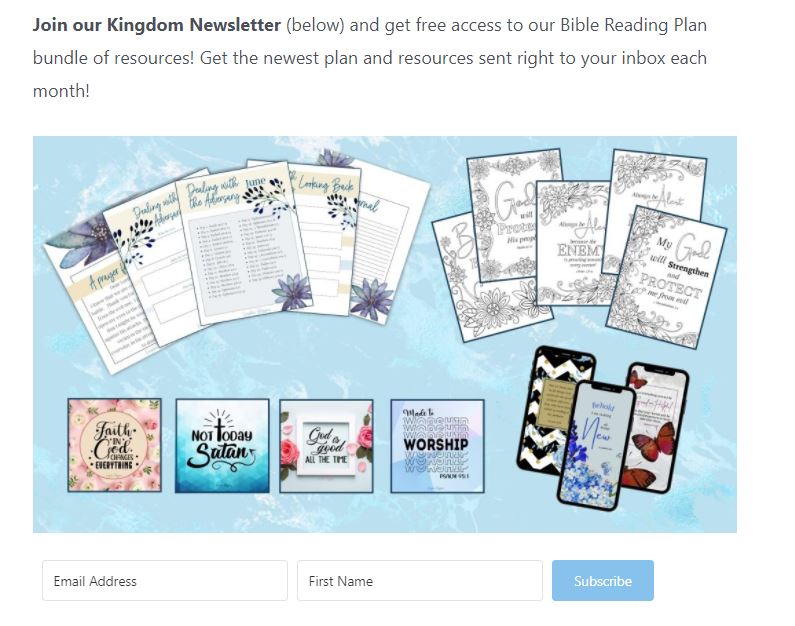
Optin Forms
There are many different ways to add your optin forms to blog posts.
If you create the forms in your email service (such as Convertkit or MailerLite), you can embed forms using their plugin or by manually adding the shortcode to individual blog posts.
As your blog grows, you will eventually have a variety of forms offering different things (tailored to either categories or individual blog posts). But what happens when you decide you want to change your optin offer or the way the form looks?
Most of the time, you’ll have to remember which posts you put what forms in and go through them one at a time to change them out.
But with reusable blocks, you only need to edit the reusable block and it applies the changes on every post where that block it used!
You can use the actual form (shortcode) or create a nice mockup in Canva and add the simple shortcode below it. You can also just add a faux button to the Canva image that, when clicked, opens up the actual form.
Internal Link for Cornerstone Content
Every category on your site should have a cornerstone (or pillar) post that can be linked-to in all the posts in that particular category. Instead of having to type out the sentence every single time, just turn it into a reusable block!
Simply use a text block and color the background for it so it really stands out when a user is scrolling the page.
Link to Resource Page/Library
If you have a really great resource page or resource library (not password-protected), a reusable block makes it super easy to add it to relevant posts!
You can either use a text block or dress it up with images.

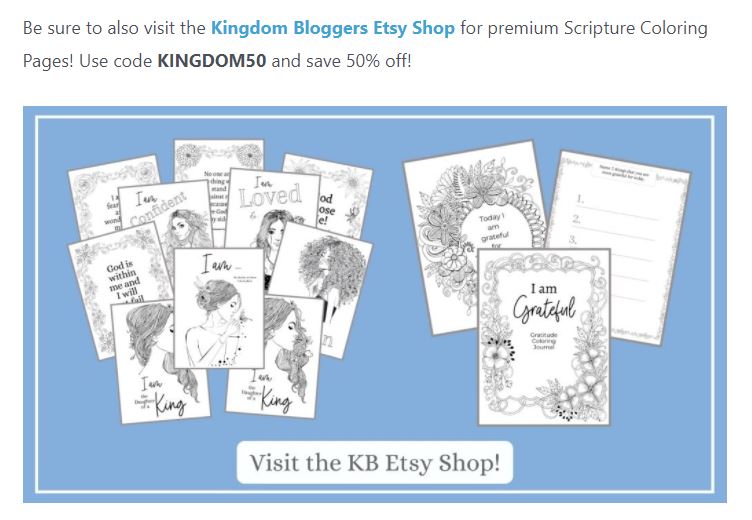
Link to Your Shop
Do you have a shop page on your blog? Or maybe you have a shop on Etsy or another marketplace? Even if you have a link to it in your navigation, you can still link to it in blog posts.
HINT: When linking to it in individual blog posts, always offer a sweet discount code (and don’t be stingy with the amount!).
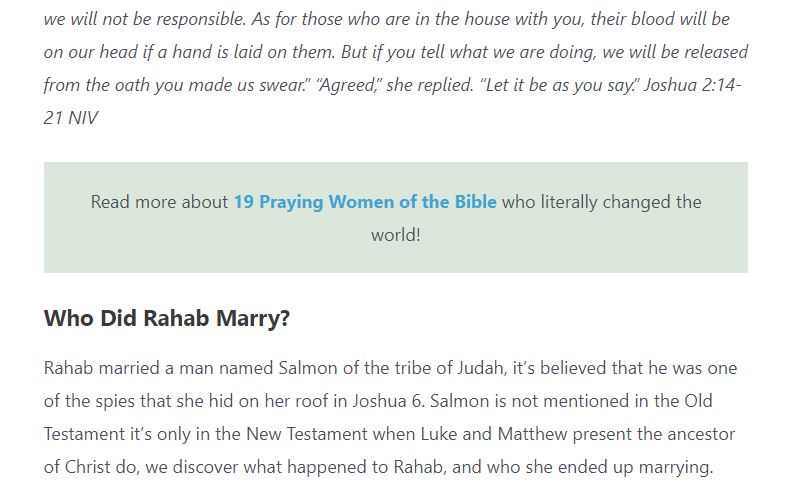
Link to a Series
If you have content that falls into a series, you can use a reusable block to link to the feed for that series in each individual post of that series.
You can use tags for your series.
For example, if you had 5 posts about gratitude, yes, you could link to each of them separately. But that can take a bit of effort and you can easily forget a few of them.
Instead, just create a reusable block!
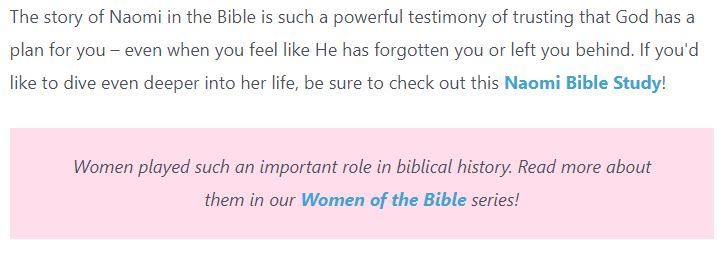
In the example image below, you’ll see my reusable block that links to all of the content related to Women of the Bible. The link goes to the Women of the Bible tag feed.
Guest Post Bio Section
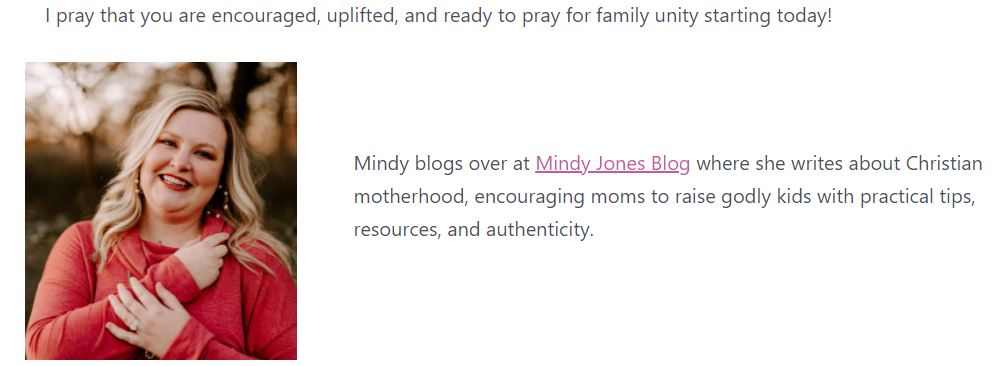
If you accept guest posts on your site, you can easily use the media/text block to create their author bio at the end of the post. I prefer this method instead of creating a user profile for each person because that involves a lot more work.
When you have someone who guest posts for you regularly (or more than once), you can easily turn their bio block into a reusable block to make it easier to add the next time they write for you.
Link to Your Book Promo
Have you published a book? If so, instead of manually adding the mockup to every post, just make it a reusable block!
Be sure the image is actually a pretty mockup of the book cover (and not just text).
Use an image or image/text block and make a faux button on it that says “learn more” or something like that. Then, make the image clickable and link it to your sales page for the book (or to Amazon or wherever you sell it from).
Save Time with Reusable Blocks!
There are many things I love about using the Gutenberg editor but reusable blocks definitely tops that list!
As you are updating older posts, start replacing regular blocks with reusable ones for things like your optins and disclosures. But also, start using them for things like linking to important content (pillar, resources, etc).
Get creative with them to make them really stand out – especially the paragraph blocks. Use colored backgrounds, italics, and other decorative elements so they stand out from the rest of the text on the page (to make readers want to click on them).