So, you’ve finished writing your blog post! Congratulations!!
Now what?
Before you go and hit that publish button, there are a few things you want to check over and ensure are completed.
Many times, we get in such a rush to get a post published that we often overlook some crucial steps that can either hinder or help our blog post flourish.
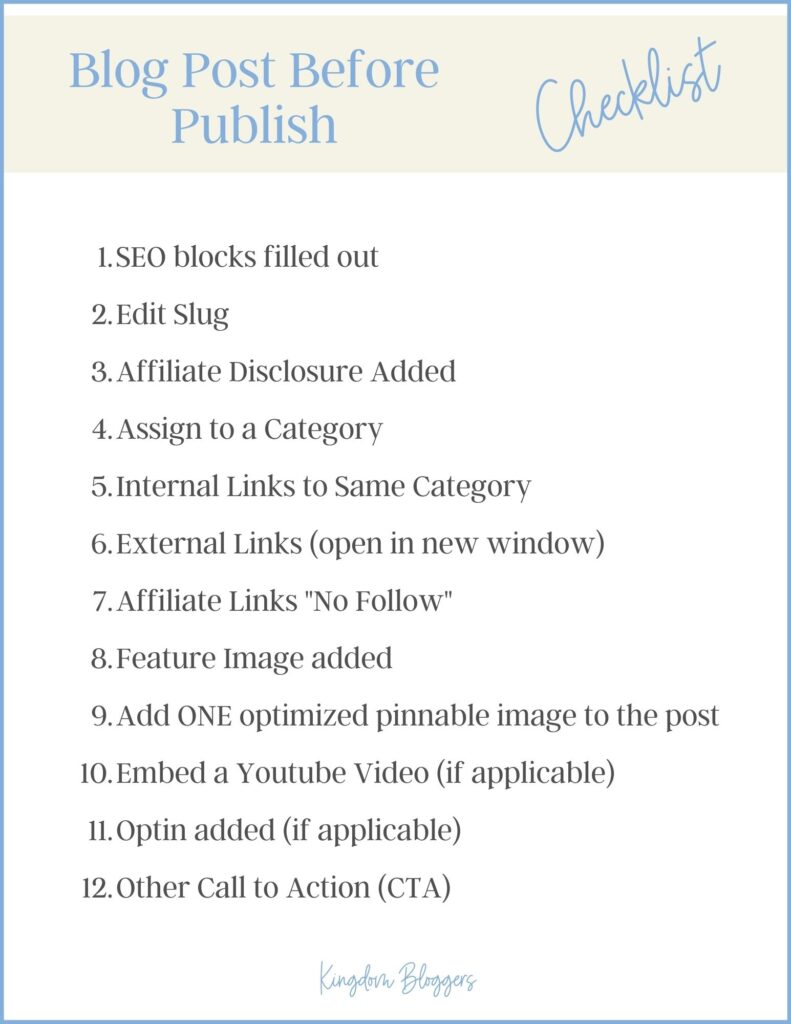
Below, I share 12 things you want to make sure are done before you publish the post.

This post may contain affiliate links. Read our full disclosure here.
Before You Hit the Publish Button, Do These Things
Hopefully, you fully understand how SEO works and you have written content that satisfies a search query and is formatted properly.
If you need help with that, be sure to read How to Satisfy the Search Query.
Now, you may think your post is ready to publish, but it is always a good idea to go and check of few important things as well as add a few things to improve the engagement of the post.
Here are a few things you want to check before you hit that publish button!
1. Fill Out SEO Block
Whether you use Yoast or RankMath, be sure you enter a key phrase and meta description for the post. If the content has no SEO value, be sure to also make the page No Index.
2. Edit the Slug
The slug is the portion of the post URL after the domain. When you enter the title block for your post, it automatically enters that entire title into the slug block.
Oftentimes, your title has numbers and power words or extra adjectives.
Before you publish the post, edit the slug to just be the focus keyphrase or focal point of the post.
For example, if your post title was “5 Effective Bible Study Methods for Busy Moms” all of that text would populate your slug.
Edit the slug to just “effective-bible-study-methods”.
3. Add Your Affiliate Disclosure
If you are monetizing your blog with affiliate links, you must include an affiliate disclosure statement on every single post where there might be affiliate links.
This disclosure should be placed BEFORE the use of any affiliate links. I like to insert mine right before my first H2 and then never place links before it.
4. Assign to a Category
Any content created on a POST must be assigned to a category. Pages, however, are not given a category option.
5. Add Internal Links
Every single post should have an internal link to another related post. For SEO purposes, internal links should mostly link to other posts in the same category.
You can also provide an internal link to content created on pages such as an important resource page.
6. External Links Open in New Window
If you have external links included in your post (links to other sites), ensure they are set to open in a new window.
Note: Although Yoast/RankMath will tell you that you need an external link, don’t go out of your way to add one. Only add them if they are relevant and provide additional value related to the post topic.
7. Ensure Affiliate Links are No Follow
If you are monetizing with affiliate links, every single link must be set to No Follow/Sponsored. And since they are external links, they should also be set to open in a new window.
8. Add Featured Image
Ensure you have added a horizontal featured image for the post (right sidebar in WordPress). Ideally, this should be a clean image with no text overlay.
9. Add Optimized Pinnable Image
Even if you don’t plan to actively use Pinterest, you should still include an optimized pinnable image in every blog post. A lot of people use Pinterest and will save your pin.
Because of that, you can get traffic from Pinterest even if you don’t have a Pinterest account of your own!
10. Embed a Youtube Video
This one isn’t an absolute requirement, but video is definitely where you’ll see the most growth. Consider creating a short video to supplement the post (and uploading it to Youtube). Then, embed that video in the post.
Plus, your videos can be repurposed in many different ways on other platforms!
11. Include an Optin
If you are starting to build your email list, be sure that you have a great optin embedded into the post before publishing it.
You can have one main one that is embedded in every post. But you can also add a post-specific (or category-specific) optin manually into the post to increase engagement and signups.
12. Include Other CTA
If there are any other things you are trying to accomplish with your blog, be sure to include a CTA for them – when appropriate or relevant.
But don’t overdo it! Keep it simple and ensure the CTA makes sense when you add it!
Some examples might include:
- asking readers to join your FB group
- asking readers to follow you on your preferred social channel
But don’t just ask them to join you. Be sure to let them know why and what you do there!